Up to date
This page is up to date for Godot 4.2.
If you still find outdated information, please open an issue.
인스턴스 만들기
이전 파트에서는 씬이 하나의 루트 노드를 가진 트리 구조로 구성된 노드 모음임을 알아보았습니다. 프로젝트를 여러 씬으로 분할할 수 있습니다. 이 기능은 게임의 다양한 구성 요소를 분리하고 조직하는 데 도움이 됩니다.
You can create as many scenes as you'd like and save them as files with the
.tscn extension, which stands for "text scene". The label.tscn file from
the previous lesson was an example. We call those files "Packed Scenes" as they
pack information about your scene's content.
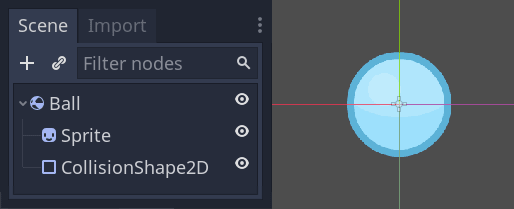
Here's an example of a ball. It's composed of a RigidBody2D node as its root named Ball, which allows the ball to fall and bounce on walls, a Sprite2D node, and a CollisionShape2D.
한 번 씬을 저장하면, 이는 청사진(blueprint)으로 작동합니다. 원하는 만큼 다른 씬에서 재생산할 수 있습니다. 이와 같이 템플릿에서 객체를 복제하는 것을 **인스턴싱(Instancing)**이라고 합니다.
이전 파트에서 언급한 바와 같이, 인스턴스화된 씬은 노드처럼 동작합니다: 기본적으로 에디터는 그 내용을 숨깁니다. Ball을 인스턴스화하면 Ball 노드만 표시됩니다. 또한 각 복제본은 고유한 이름을 가지고 있음을 주목하세요.
Every instance of the Ball scene starts with the same structure and properties
as ball.tscn. However, you can modify each independently, such as changing
how they bounce, how heavy they are, or any property exposed by the source
scene.
연습해보기
Let's use instancing in practice to see how it works in Godot. We invite you to download the ball's sample project we prepared for you: instancing_starter.zip.
Extract the archive on your computer. To import it, you need the Project Manager. The Project Manager is accessed by opening Godot, or if you already have Godot opened, click on Project -> Quit to Project List (Ctrl + Shift + Q, Ctrl + Option + Cmd + Q on macOS)
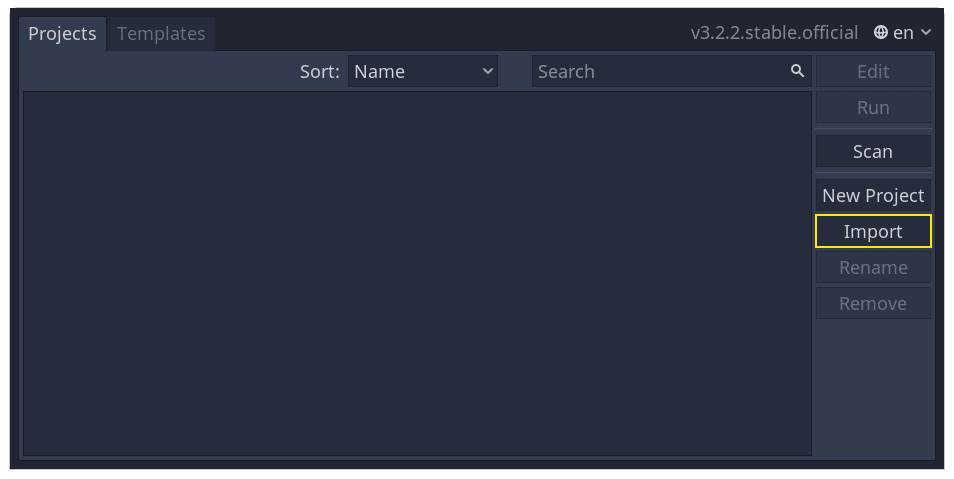
In the Project Manager, click the Import button to import the project.
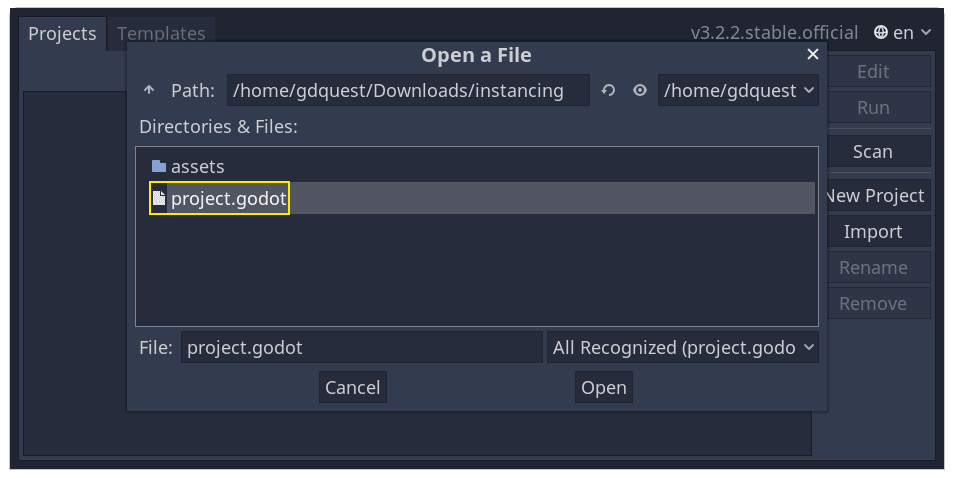
팝업창이 나타나면 찾아보기 버튼을 클릭하고, 압축을 푼 폴더로 이동하세요.
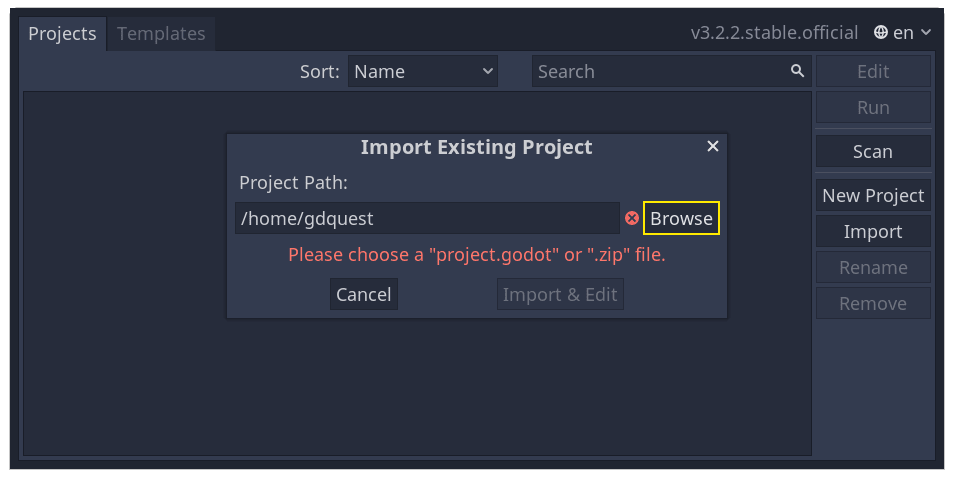
project.godot 파일을 더블 클릭하여 열어주세요.
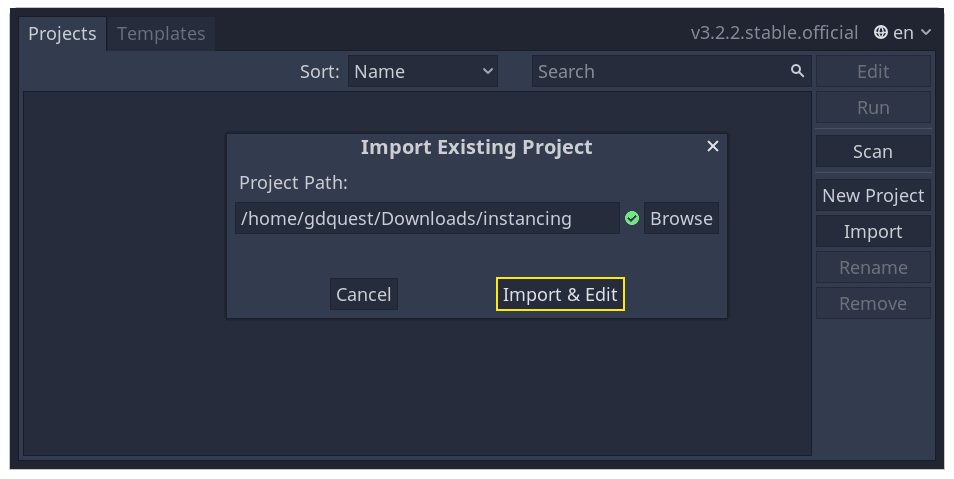
마지막으로 "가져오기 & 편집" 버튼을 클릭하세요.
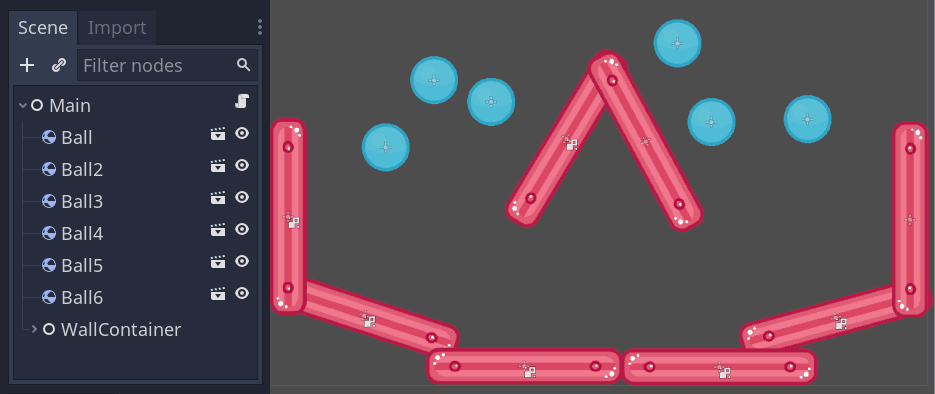
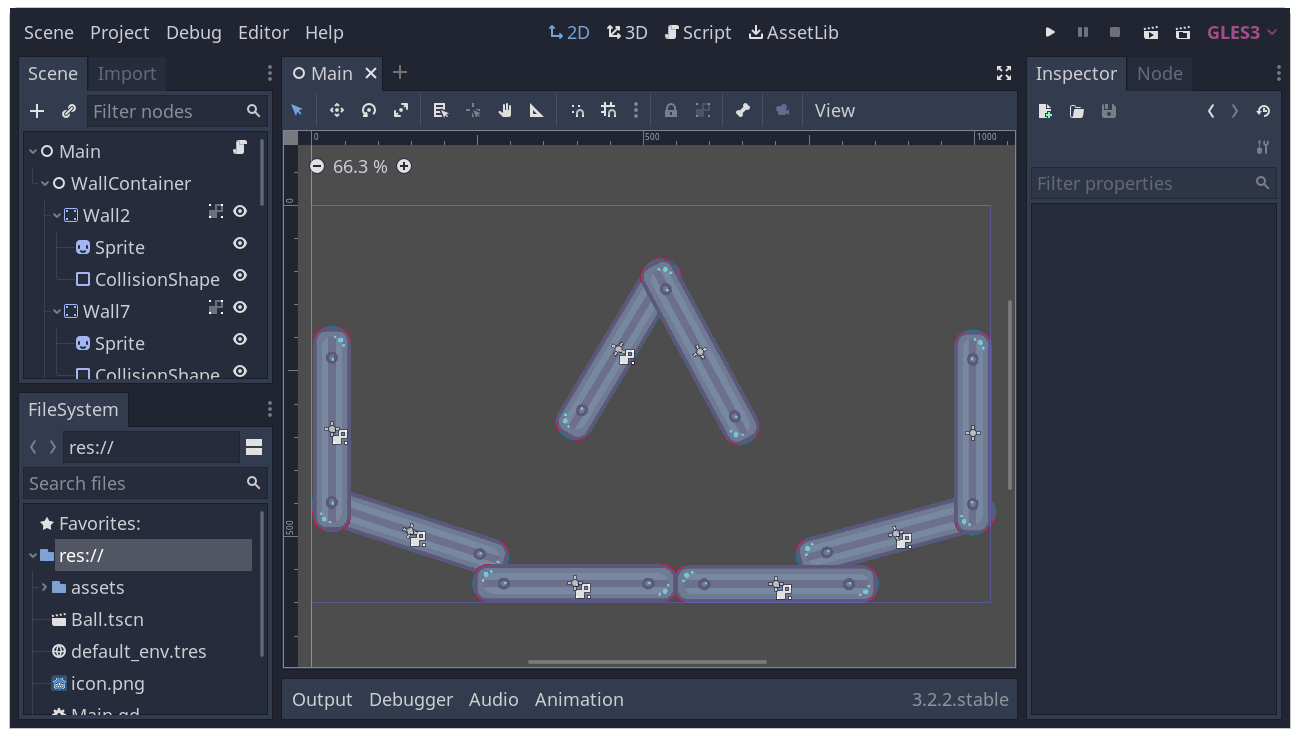
The project contains two packed scenes: main.tscn, containing walls against
which the ball collides, and ball.tscn. The Main scene should open
automatically. If you're seeing an empty 3D scene instead of the main scene, click the 2D button at the top of the screen.

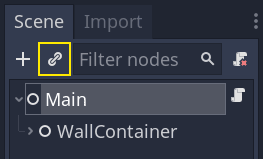
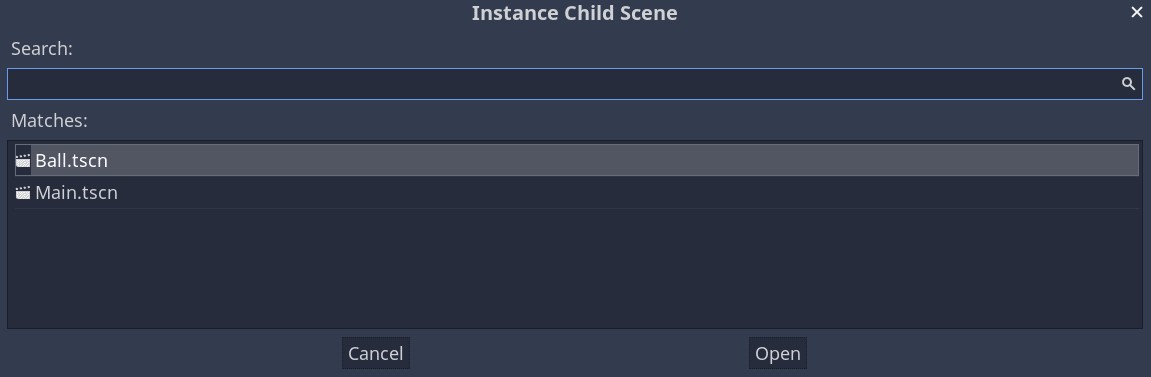
Main 노드의 하위 항목으로 볼을 추가해 보겠습니다. Scene 독에서 Main 노드를 선택한 다음, Scene 독 상단에 있는 링크 아이콘을 클릭하세요. 이 버튼을 사용하면 현재 선택된 노드의 하위로 씬의 인스턴스를 추가할 수 있습니다.
볼 씬을 두 번 클릭하여 인스턴스화하세요.
ball이 좌상단 구석의 뷰 포트에 나옵니다.
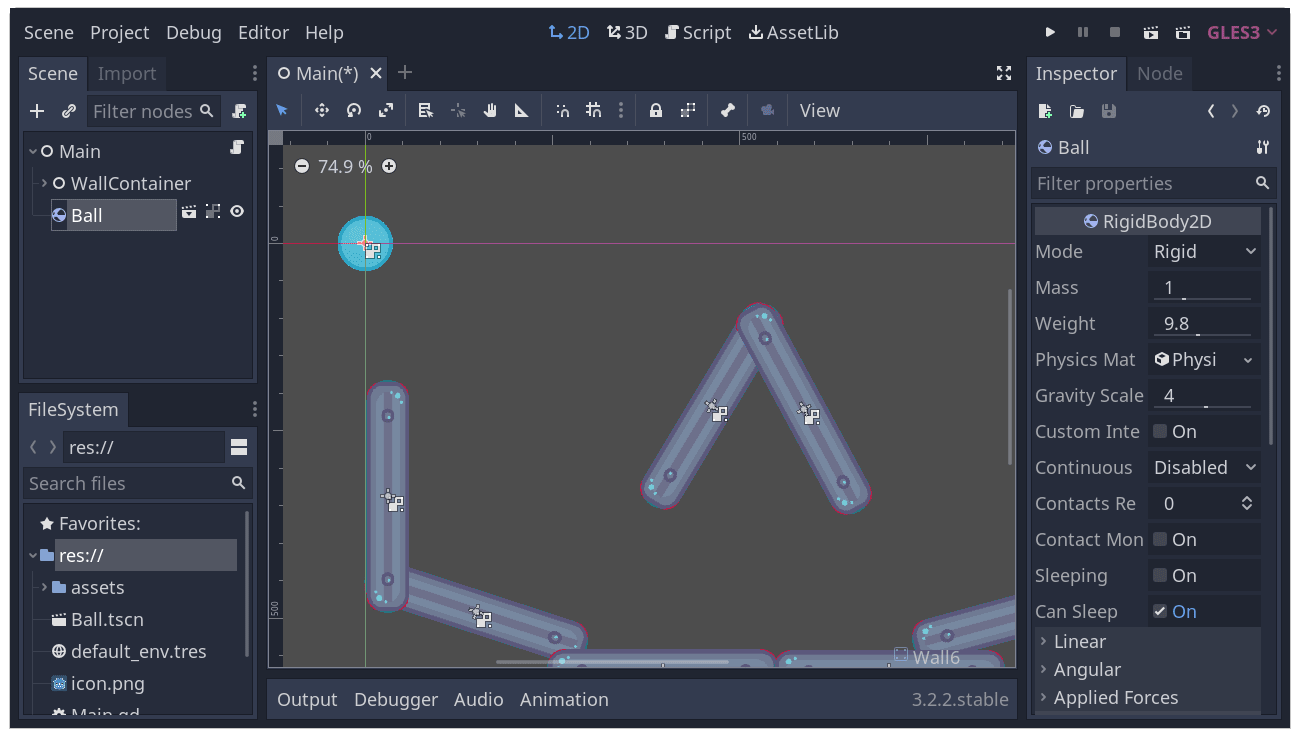
클릭한 후에 화면의 중앙으로 드래그하세요.
Play the game by pressing F5 (Cmd + B on macOS). You should see it fall.
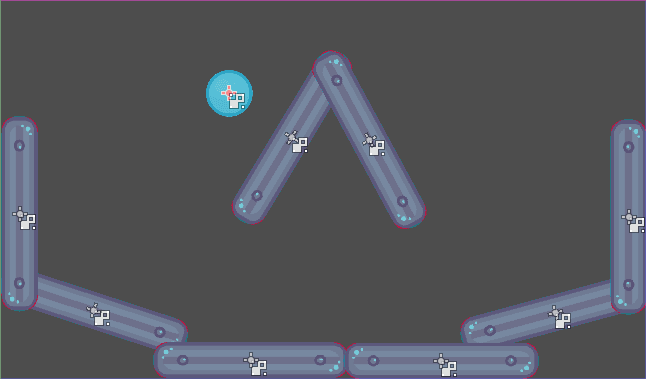
Now, we want to create more instances of the Ball node. With the ball still selected, press Ctrl + D (Cmd + D on macOS) to call the duplicate command. Click and drag to move the new ball to a different location.
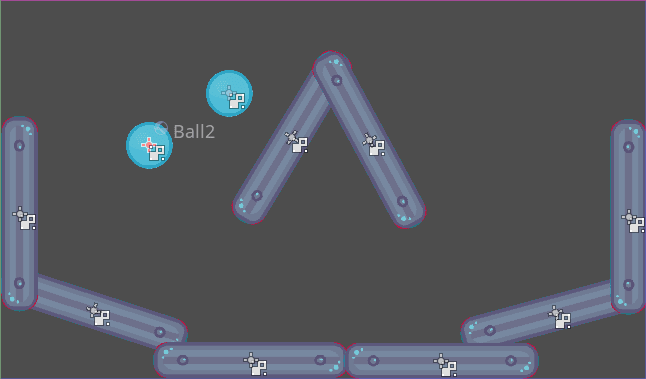
씬에 몇 개를 가지더라도 반복할 수 있습니다.
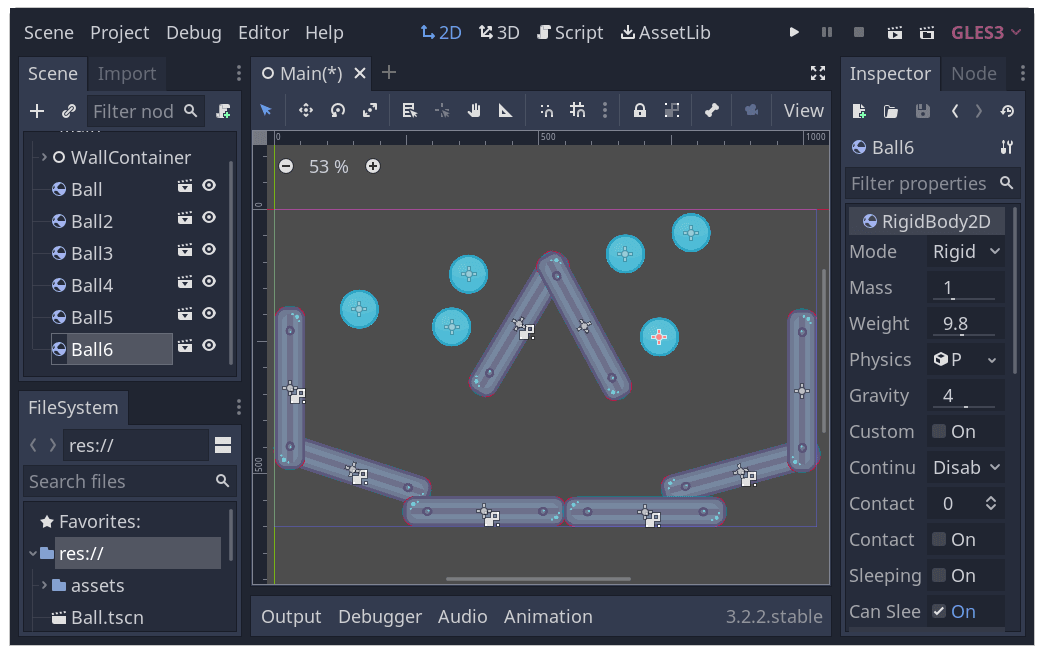
게임을 다시 실행하세요. 이제 각각의 볼이 서로 독립적으로 떨어지는 것을 볼 수 있을 것입니다. 이것이 인스턴스의 동작 방식입니다. 각 인스턴스는 템플릿 씬의 독립적인 복제품입니다.
씬과 인스턴스 편집하기
인스턴스에는 더 많은 기능이 있습니다. 이 기능을 사용하면 다음과 같은 작업을 수행할 수 있습니다:
다른 것들에 영향을 주지 않고서도 인스펙터를 이용해 ball 하나의 속성을 바꿀 수 있습니다.
Change the default properties of every Ball by opening the
ball.tscnscene and making a change to the Ball node there. Upon saving, all instances of the Ball in the project will see their values update.
참고
인스턴스의 속성을 변경하면 해당 패킹된 씬의 값이 항상 덮어씁니다.
Let's try this. Open ball.tscn and select the Ball node. In the Inspector on
the right, click on the PhysicsMaterial property to expand it.
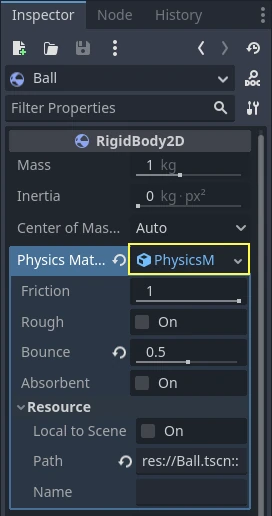
Set its Bounce property to 0.5 by clicking on the number field, typing 0.5,
and pressing Enter.

Play the game by pressing F5 (Cmd + B on macOS) and notice how all balls now bounce a lot more. As the Ball scene is a template for all instances, modifying it and saving causes all instances to update accordingly.
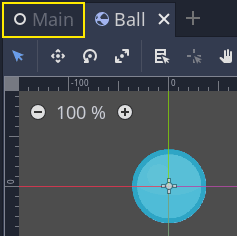
개별 인스턴스를 조절해봅시다. 뷰 포트 위쪽에서 해당하는 탭을 클릭하면 메인 씬으로 돌아올 수 있습니다.
인스턴스화된 Ball 노드를 하나 선택하고, 인스펙터에서 중력 배수 값을 ``10``으로 설정합니다.

속성을 조절하고 나서, 회색 복구 버튼이 나타납니다.
이 아이콘은 씬에서 팩된 소스의 값을 덮어썼다는 것을 알려줍니다. 원본 씬의 속성을 수정하더라도 인스턴스에 덮어씌워진 값이 보존됩니다. 복구 아이콘을 누르면 저장된 씬에서 속성 값을 불러옵니다.
게임을 다시 실행하여 이 Ball이 다른 것보다 훨씬 빠르게 떨어지는지 봅시다.
참고
You may notice you are unable to change the values of the PhysicsMaterial
of the ball. This is because PhysicsMaterial is a resource, and needs
to be made unique before you can edit it in a scene that is linking to its
original scene. To make a resource unique for one instance, right-click on
it in the Inspector and click Make Unique in the contextual menu.
리소스는 우리가 이후 강의에서 다룰 Godot 게임의 또 다른 필수 구성 요소입니다.
디자인 언어로서의 씬 인스턴스
Godot의 인스턴스와 씬은 뛰어난 디자인 언어를 제공하여 다른 엔진과 차별화됩니다. 우리는 처음부터 이 개념을 중심으로 Godot를 디자인했습니다.
Godot로 게임을 만들 때는 모델-뷰-컨트롤러(MVC)이나 엔터티-관계 다이어그램과 같은 아키텍처 코드 패턴은 잊어버리세요. 대신, 플레이어가 게임에서 보게 될 요소를 상상하고 이를 중심으로 코드를 구성하면 됩니다.
예를 들어 슈팅 게임을 다음과 같이 분류할 수 있습니다:
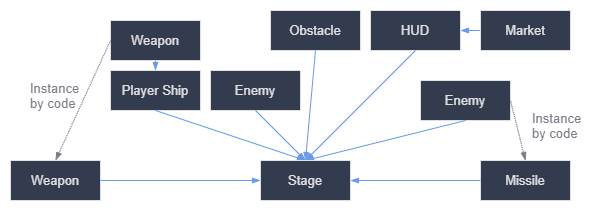
거의 모든 유형의 게임에 대해 이와 같은 다이어그램을 만들 수 있습니다. 각 사각형은 플레이어의 관점에서 게임에서 볼 수 있는 엔티티를 나타냅니다. 화살표는 어떤 씬이 어떤 씬을 소유하고 있는지 알려줍니다.
Once you have a diagram, we recommend creating a scene for each element listed in it to develop your game. You'll use instancing, either by code or directly in the editor, to build your tree of scenes.
Programmers tend to spend a lot of time designing abstract architectures and trying to fit components into it. Designing based on scenes makes development faster and more straightforward, allowing you to focus on the game logic itself. Because most game components map directly to a scene, using a design based on scene instantiation means you need little other architectural code.
Here's the example of a scene diagram for an open-world game with tons of assets and nested elements:
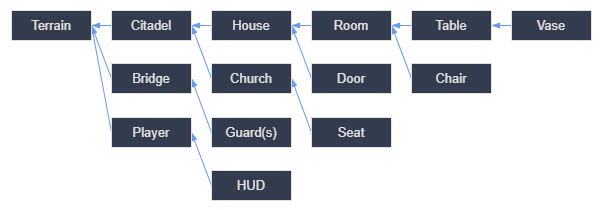
방을 만드는 것부터 시작했다고 상상해 보세요. 가구 배치 방법에 따라 여러 개의 방 씬을 만들 수 있습니다. 이후 방 인스턴스를 여러 개 사용해 집 씬을 만들 수 있습니다. 인스턴스화된 여러 집과 성채를 배치할 넓은 지형을 사용하면 성채도 만들 수 있습니다. 이들 각각은 하나 이상의 하위 씬을 인스턴스화하는 씬입니다.
Later, we could create scenes representing guards and add them to the citadel. They would be indirectly added to the overall game world.
With Godot, it's easy to iterate on your game like this, as all you need to do is create and instantiate more scenes. We designed the editor to be accessible to programmers, designers, and artists alike. A typical team development process can involve 2D or 3D artists, level designers, game designers, and animators, all working with the Godot editor.
요약
Instancing, the process of producing an object from a blueprint, has many handy uses. With scenes, it gives you:
The ability to divide your game into reusable components.
복잡한 시스템을 구조화하고 캡슐화하는 도구.
게임 프로젝트의 구조를 자연스러운 방법으로 생각하기 위한 언어.