Attention: Here be dragons
This is the latest
(unstable) version of this documentation, which may document features
not available in or compatible with released stable versions of Godot.
Checking the stable version of the documentation...
ParticleProcessMaterial 2D 사용법
노드 속성
최소, 최대 및 곡선 속성
이 재질의 속성은 입자가 수명 동안 동작하고 변경하는 방식을 제어합니다. 이들 중 다수는 동작을 미세 조정할 수 있는 Min, Max 및 Curve 값을 가지고 있습니다. 이러한 값 사이의 관계는 다음과 같습니다. 입자가 생성되면 속성은 Min``와 ``Max 사이의 임의 값으로 설정됩니다. Min 및 ``Max``가 동일한 경우 값은 모든 입자에 대해 항상 동일합니다. ``Curve``도 설정된 경우 속성 값은 입자 수명 중 현재 지점의 곡선 값과 곱해집니다. 곡선을 사용하여 입자 수명 동안 속성을 변경합니다. 매우 복잡한 동작을 이런 식으로 표현할 수 있습니다.
참고
이 페이지에서는 구체적으로 2D 장면에 ParticleProcessMaterial을 사용하는 방법을 다룹니다. 3D 씬에서 사용하는 방법에 대한 자세한 내용은 :ref:`doc_process_material_properties`를 참조하세요.
무작위성
Lifetime Randomness 속성은 각 입자의 수명에 적용할 무작위성의 정도를 제어합니다. 0 값은 임의성이 전혀 없으며 모든 입자가 Lifetime 속성에 의해 설정된 동일한 시간 동안 살아 있음을 의미합니다. 1 값은 입자의 수명이 [0.0, Lifetime] 범위 내에서 완전히 무작위임을 의미합니다.
입자 플래그
소환
각
입자의 초기 각도를 결정합니다. 이 매개변수는 무작위화하는데 대부분 유용하게 쓰입니다.
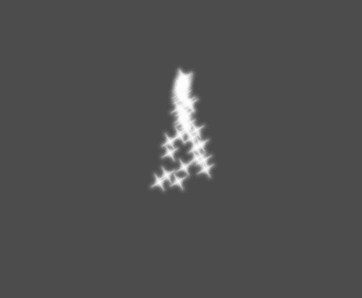
속도
방향
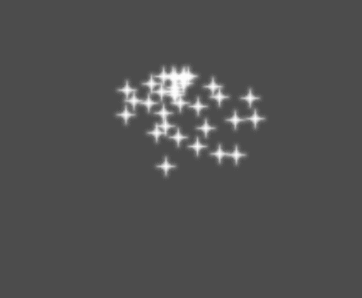
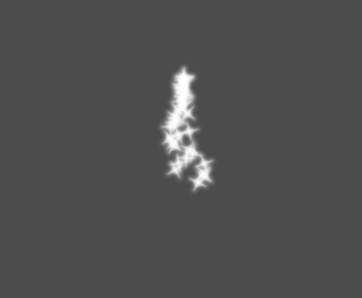
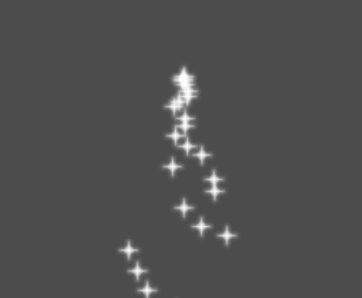
이는 입자가 방출되는 기본 방향입니다. 기본값은 파티클을 오른쪽으로 방출하는 ``Vector3(1, 0, 0)``입니다. 그러나 기본 중력 설정을 사용하면 입자가 똑바로 아래로 이동합니다.
이 속성을 눈에 띄게 하려면 0보다 큰 *초기 속도*가 필요합니다. 여기서는 초기 속도를 40으로 설정했습니다. 입자가 오른쪽으로 방출된 다음 중력으로 인해 아래로 내려가는 것을 볼 수 있습니다.
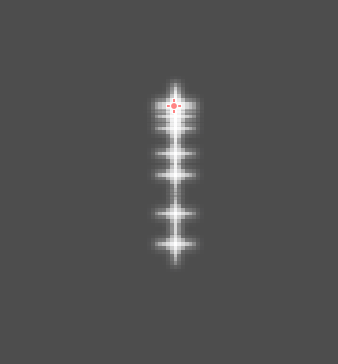
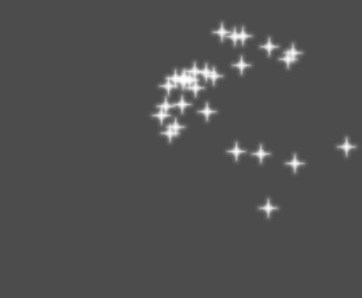
스프레드
이 매개변수는 기준 ``방향``에 임의로 어느 방향으로든 추가되는 각도(도) 입니다. ``180``으로 설정하면 모든 방향(+/- 180)으로 방출됩니다.
평면성
이 속성은 3D 입자에만 유용합니다.
초기 속도
초기 속도는 입자가 방출되는 속도(초당 픽셀)입니다. 속도는 나중에 중력이나 다른 가속도에 의해 수정될 수 있습니다(아래에서 자세히 설명).

초기 속도
각속도
회전 속도는 입자가 각각의 입자 중심을 회전하는 속도입니다(초당 각도).
공전 속도
공전 속도는 입자들이 중심을 돌게 만드는 데 사용됩니다.
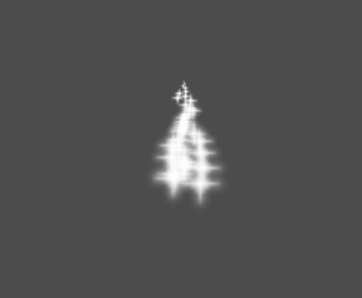
선형 가속도(Linear Acceleration)
중력
중력이 모든 입자에 적용됩니다.
선형 가속도(Linear Acceleration)
각 입자에 적용되는 선형 가속도.
지름 가속도(Radial Acceleration)
이 가속도가 양수이면 입자는 중심에서 멀어지는 방향으로 가속됩니다. 부정적이면 그쪽으로 흡수됩니다.
접선가속도(Tangential Acceleration)
이 가속도는 중심에 접선 벡터를 사용합니다. 지름 가속도와 결합하면 좋은 효과를 볼 수 있습니다.
댐핑
Damping은 입자에 마찰을 일으켜 멈추게 합니다. 특히 불꽃이나 폭발에 유용하며 보통 높은 선속도로 시작하다가 점차 사라지면서 멈춥니다.
디스플레이
스케일
입자의 초기 스케일을 결정합니다.
색상
색상
방출되는 입자 색깔을 바꾸는 데 사용됩니다.
표준화
Variation 값은 각 입자의 초기 hue variation를 설정합니다. Variation Random 값은 hue variation 무작위 비율을 조절합니다.
애니메이션
참고
입자 플립북 애니메이션은 GPUParticles2D 또는 CPUParticles2D 노드에 사용된 CanvasItemMaterial이 :ref:`에 따라 구성된 <doc_particle_systems_2d_using_flipbook>`인 경우에만 효과적입니다.
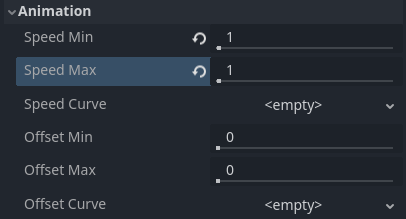
선형 재생을 위해 입자 플립북을 설정하려면 Speed Min 및 Speed Max 값을 1로 설정합니다.
입자 수명 동안 재생할 입자 애니메이션 설정
기본적으로 루핑은 비활성화되어 있습니다. 파티클의 수명이 끝나기 전에 재생이 완료되면 파티클은 플립북의 마지막 프레임을 계속 사용합니다(플립북 텍스처가 디자인된 방식에 따라 완전히 투명할 수 있음). 반복이 활성화되면 애니메이션이 첫 번째 프레임으로 반복되어 재생을 다시 시작합니다.
스프라이트 시트에 포함된 이미지 수와 입자가 살아 있는 기간에 따라 애니메이션이 매끄럽게 보이지 않을 수 있습니다. 입자 수명, 애니메이션 속도, 스프라이트 시트의 이미지 수 사이의 관계는 다음과 같습니다.
참고
``1.0``의 애니메이션 속도에서 애니메이션은 입자의 수명이 끝나자마자 시퀀스의 마지막 이미지에 도달합니다.
입자 플립북을 모든 입자에 대한 무작위 입자 텍스처의 소스로 사용하려면 속도 값을 0으로 유지하고 대신 **오프셋 최대값**을 1로 설정하십시오.
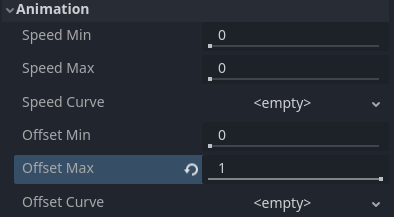
방출 시 무작위 오프셋을 위한 입자 애니메이션 설정
GPUParticles2D 노드의 **Fixed FPS**도 애니메이션 재생에 영향을 미칩니다. 원활한 애니메이션 재생을 위해서는 렌더링된 모든 프레임에서 입자가 시뮬레이션되도록 0으로 설정하는 것이 좋습니다. 이것이 사용 사례에 대한 옵션이 아닌 경우 **고정 FPS**를 플립북 애니메이션에서 사용하는 유효 프레임 속도와 동일하도록 설정하세요(공식은 위 참조).
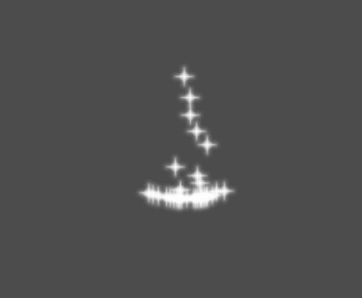
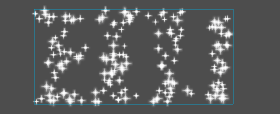
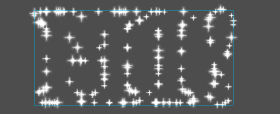
방출 모양
ParticlesMaterials는 입자가 방출되는 영역과 방향을 결정할 수 있는 에미션 마스크(Emission Mask)를 설정할 수 있습니다. 프로젝트 내 텍스처로 생성될 수 있습니다.
ParticleProcessMaterial이 설정되고 GPUParticles2D 노드가 선택되어 있는지 확인하세요. 툴바에 "입자" 메뉴가 표시되어야 합니다:

메뉴를 열고 "방출 마스크 불러오기"를 선택하세요:

그런 다음 마스크로 쓸 텍스처를 선택합니다:

여겨 가지 설정이 있는 대화 상자가 나타납니다.
방출 마스크
텍스처로 생성될 수 있는 에미션 마스크는 세 가지 유형이 있습니다:
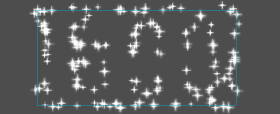
견고한 픽셀: 텍스처의 투명한 부분을 제외한 모든 영역에서 입자가 소환됩니다.
테두리 픽셀: 텍스처의 바깥 가장자리에 입자가 소환됩니다.
방향성이 있는 테두리 픽셀: 테두리 픽셀과 유사하지만, 마스크에 추가 정보를 추가하여 입자가 경계에서 벗어나 방출될 수 있는 능력을 줍니다. 이를 활용하려면
초기 속도를 설정해야 합니다.
방출 색상
``픽셀로부터 캡쳐``는 입자가 생겨난 지점의 마스크 색깔을 물려받습니다.
"확인" 버튼을 누르게 되면 마스크가 생성되고 ParticlesMaterial의 Emission Shape 부분 아래에 설정됩니다:

이 부분의 모든 값은 "에미션 마스크 불러오기" 메뉴에 의해서 자동으로 생성됩니다. 그래서 이 설정은 일반적으로 그대로 두어야 합니다.
참고
Point Texture 또는 Color Texture에 직접 이미지를 추가해서는 안됩니다. 그 대신에 "이미션 마스크 불러오기" 메뉴를 통해서 사용되어야 합니다.
프로세스 머티리얼 만들기
셰이더 코드에서 새로운 동작을 변경하거나 구현해야 하는 경우 현재 ParticleProcessMaterial을 :ref:`class_ShaderMaterial`로 변환하면 됩니다. 기존 속성은 변환 프로세스에 의해 보존됩니다. 활성화된 기능은 변환된 셰이더 코드에 있는 내용에도 영향을 미칩니다.
이렇게 하려면 FileSystem 도크에서 재질을 마우스 오른쪽 버튼으로 클릭하고 **ShaderMaterial로 변환**을 선택합니다. 인스펙터에서 머티리얼에 대한 참조를 보유하는 속성을 마우스 오른쪽 버튼으로 클릭하여 이를 수행할 수도 있습니다.